Deploy a Wasm Workload
In our previous tutorials, we started a developer loop and added the wasi:keyvalue interface to our application. The wash dev process satisfied our application's capability requirements automatically, so we could move quickly and focus on code.
Now we'll learn how to:
- Compile your application to a WebAssembly component binary
- Publish your Wasm binary to an OCI registry
- Set up a wasmCloud environment on Kubernetes and deploy your Wasm workload
This tutorial assumes you're following directly from the previous steps. Make sure to complete Quickstart and Develop a WebAssembly Component first.
Build Wasm binary
- Rust
- TypeScript
- My language isn't listed
Use the wash build command from the root of a project directory to compile the component into a .wasm binary:
wash buildBy default, the compiled .wasm binary for a Rust project is generated at /target/wasm32-wasip2/debug/. The output path for the compiled .wasm binary can be configured via wash's config.json file.
Use the wash build command from the root of a project directory to compile the component into a .wasm binary:
wash buildBy default, the compiled .wasm binary for a TypeScript project is generated at /dist/. The output path for the compiled .wasm binary can be configured via wash's config.json file.
If you prefer working in a language that isn't listed here, let us know!
Publish image
Now we can publish a Wasm binary image to any OCI compliant registry that supports OCI artifacts.
The wasmCloud ecosystem uses the OCI image specification to package Wasm components—these images are not container images, but conform to OCI standards and may be stored on any OCI-compatible registry. You can learn more about wasmCloud packaging on the Packaging page.
Authenticate to registry
wash uses Docker credentials for OCI registry authentication. For GitHub Packages (GHCR), you'll need a GitHub Personal Access Token (PAT) with write:packages scope. Authenticate with the docker CLI:
docker login ghcr.io -u <username>Docker will prompt you for your PAT as the password.
Your GitHub username (and the namespace in image paths) must be all lowercase.
Push image to registry
Now we'll push a Wasm component image to a registry. The example below uses GitHub Packages, but you can use any OCI compliant registry that supports OCI artifacts.
If you're following along using GitHub Packages, make sure to replace <namespace> in the command below with your own GitHub namespace (lowercase).
- Rust
- TypeScript
- My language isn't listed
wash oci push ghcr.io/<namespace>/http-hello-world:0.1.0 ./target/wasm32-wasip2/debug/http_hello_world.wasmwash oci push ghcr.io/<namespace>/http-hello-world:0.1.0 ./dist/http_hello_world_hono.wasmIf you prefer working in a language that isn't listed here, let us know!
- The registry address (including name and tag) is specified for the first option with
wash oci push. - The second option defines the target path for the component binary to push.
If you're using GitHub Packages, remember to make the image public in order to follow the steps below.
Install wasmCloud on Kubernetes
Installation requires the following tools:
For more information on running wasmCloud on Kubernetes, see Kubernetes Operator.
Select your Kubernetes environment:
- Existing cluster
- kind
- k3d
- k3s
If you already have a Kubernetes cluster, skip cluster creation. Verify your kubectl context is pointing to the right cluster:
kubectl cluster-infokind runs Kubernetes nodes as Docker containers.
On Linux, Docker may require sudo unless you've completed the post-installation steps to run Docker as a non-root user.
The following command downloads a kind-config.yaml from the wasmCloud/wasmCloud repository, starts a cluster with port 80 mapped for ingress, and deletes the config upon completion:
curl -fLO https://raw.githubusercontent.com/wasmCloud/wasmCloud/refs/heads/main/deploy/kind/kind-config.yaml && kind create cluster --config=kind-config.yaml && rm kind-config.yamlk3d runs a lightweight k3s cluster inside Docker. It starts quickly and supports LoadBalancer services natively.
On Linux, Docker may require sudo unless you've completed the post-installation steps to run Docker as a non-root user.
k3d cluster create wasmcloud --port "80:80@loadbalancer"k3s is a lightweight Kubernetes distribution. Linux only.
Install k3s:
curl -sfL https://get.k3s.io | sh -Configure kubectl to use the k3s cluster:
mkdir -p ~/.kube
sudo cp /etc/rancher/k3s/k3s.yaml ~/.kube/config
sudo chown $USER ~/.kube/config
Use Helm to install the wasmCloud operator:
- Existing cluster
- kind
- k3d
- k3s
helm install wasmcloud --version 2.0.2 oci://ghcr.io/wasmcloud/charts/runtime-operator \
  -f https://raw.githubusercontent.com/wasmCloud/wasmCloud/refs/heads/main/charts/runtime-operator/values.local.yaml \
  --set gateway.service.type=LoadBalancer
The values.local.yaml file configures the Runtime Gateway as a NodePort service on port 30950, which the kind cluster config maps to host port 80:
helm install wasmcloud --version 2.0.2 oci://ghcr.io/wasmcloud/charts/runtime-operator \
  -f https://raw.githubusercontent.com/wasmCloud/wasmCloud/refs/heads/main/charts/runtime-operator/values.local.yaml
k3d supports LoadBalancer services natively, so we override the gateway service type:
helm install wasmcloud --version 2.0.2 oci://ghcr.io/wasmcloud/charts/runtime-operator \
  -f https://raw.githubusercontent.com/wasmCloud/wasmCloud/refs/heads/main/charts/runtime-operator/values.local.yaml \
  --set gateway.service.type=LoadBalancer
k3s includes a built-in load balancer (Klipper), so we override the gateway service type:
helm install wasmcloud --version 2.0.2 oci://ghcr.io/wasmcloud/charts/runtime-operator \
  -f https://raw.githubusercontent.com/wasmCloud/wasmCloud/refs/heads/main/charts/runtime-operator/values.local.yaml \
  --set gateway.service.type=LoadBalancer
Wait for the deployment to be ready:
kubectl rollout status deploy -l app.kubernetes.io/instance=wasmcloud -n defaultDeploy Wasm workload
Now we'll deploy our Wasm application using a WorkloadDeployment manifest.
wasmCloud components are deny-by-default: a component cannot use any capability—HTTP, key-value storage, logging, or any other—unless the host is explicitly told to allow it. The hostInterfaces field in a workload manifest is the allowlist. Each entry names an interface package that the host will make available to the component. Any interface not listed is silently unavailable, regardless of what the component's WIT file imports.
Run the following script in your terminal to create a file called deployment.yaml containing a manifest.
cat > deployment.yaml << 'EOF'
  apiVersion: runtime.wasmcloud.dev/v1alpha1
  kind: WorkloadDeployment
  metadata:
    name: http-hello-world
  spec:
    replicas: 1
    template:
      spec:
        hostSelector:
          hostgroup: default
        components:
          - name: http-hello-world
            image: ghcr.io/<namespace>/http-hello-world:0.1.0
        hostInterfaces:
          - namespace: wasi
            package: http
            interfaces:
              - incoming-handler
            config:
              host: localhost
          - namespace: wasi
            package: keyvalue
            interfaces:
              - atomics
              - store
EOF
This is a deployment manifest for a Kubernetes custom resource. For the purposes of this quickstart, the most important fields to highlight in the specification are:
hostSelector.hostgroup: Selects which pool of wasmCloud hosts runs this workload. The Helm chart installs three host pods labelledhostgroup: default—this is the correct target for most deployments. Custom host groups can be created to isolate workloads or provide specialized capabilities.components.image: This defines the registry address we will use to fetch our Wasm image.hostInterfaces: These declare which capability interfaces the host will make available to the component. Without an explicit entry here, the component cannot access that capability. Since the HTTP and key-value capabilities use well-known built-in interfaces, all we have to do is list them.
Open the file and update the image name with the correct registry address. If you're using GitHub Packages, that means replacing <namespace> with your GitHub namespace.
apiVersion: runtime.wasmcloud.dev/v1alpha1
kind: WorkloadDeployment
metadata:
  name: http-hello-world
spec:
  replicas: 1
  template:
    spec:
      hostSelector:
        hostgroup: default
      components:
        - name: http-hello-world
          image: ghcr.io/<namespace>/http-hello-world:0.1.0
      hostInterfaces:
        - namespace: wasi
          package: http
          interfaces:
            - incoming-handler
          config:
            host: localhost
        - namespace: wasi
          package: keyvalue
          interfaces:
            - atomics
            - store
Now use kubectl to apply the manifest:
kubectl apply -f deployment.yamlVerify that the Wasm component is successfully deployed:
kubectl get workloaddeploymentsUse curl to invoke the Wasm workload with an HTTP request:
OrbStack manages port 80 on macOS, intercepting traffic before it reaches the cluster. Run a port-forward in a separate terminal:
kubectl port-forward svc/runtime-gateway 8080:80Then substitute localhost:8080 for localhost in the hello-world command, and use -H "Host: blobby.localhost.direct" http://localhost:8080/... in place of http://blobby.localhost.direct/... in the Blobby commands further below.
curl localhostHello x1, World!Deploy the Blobby file server
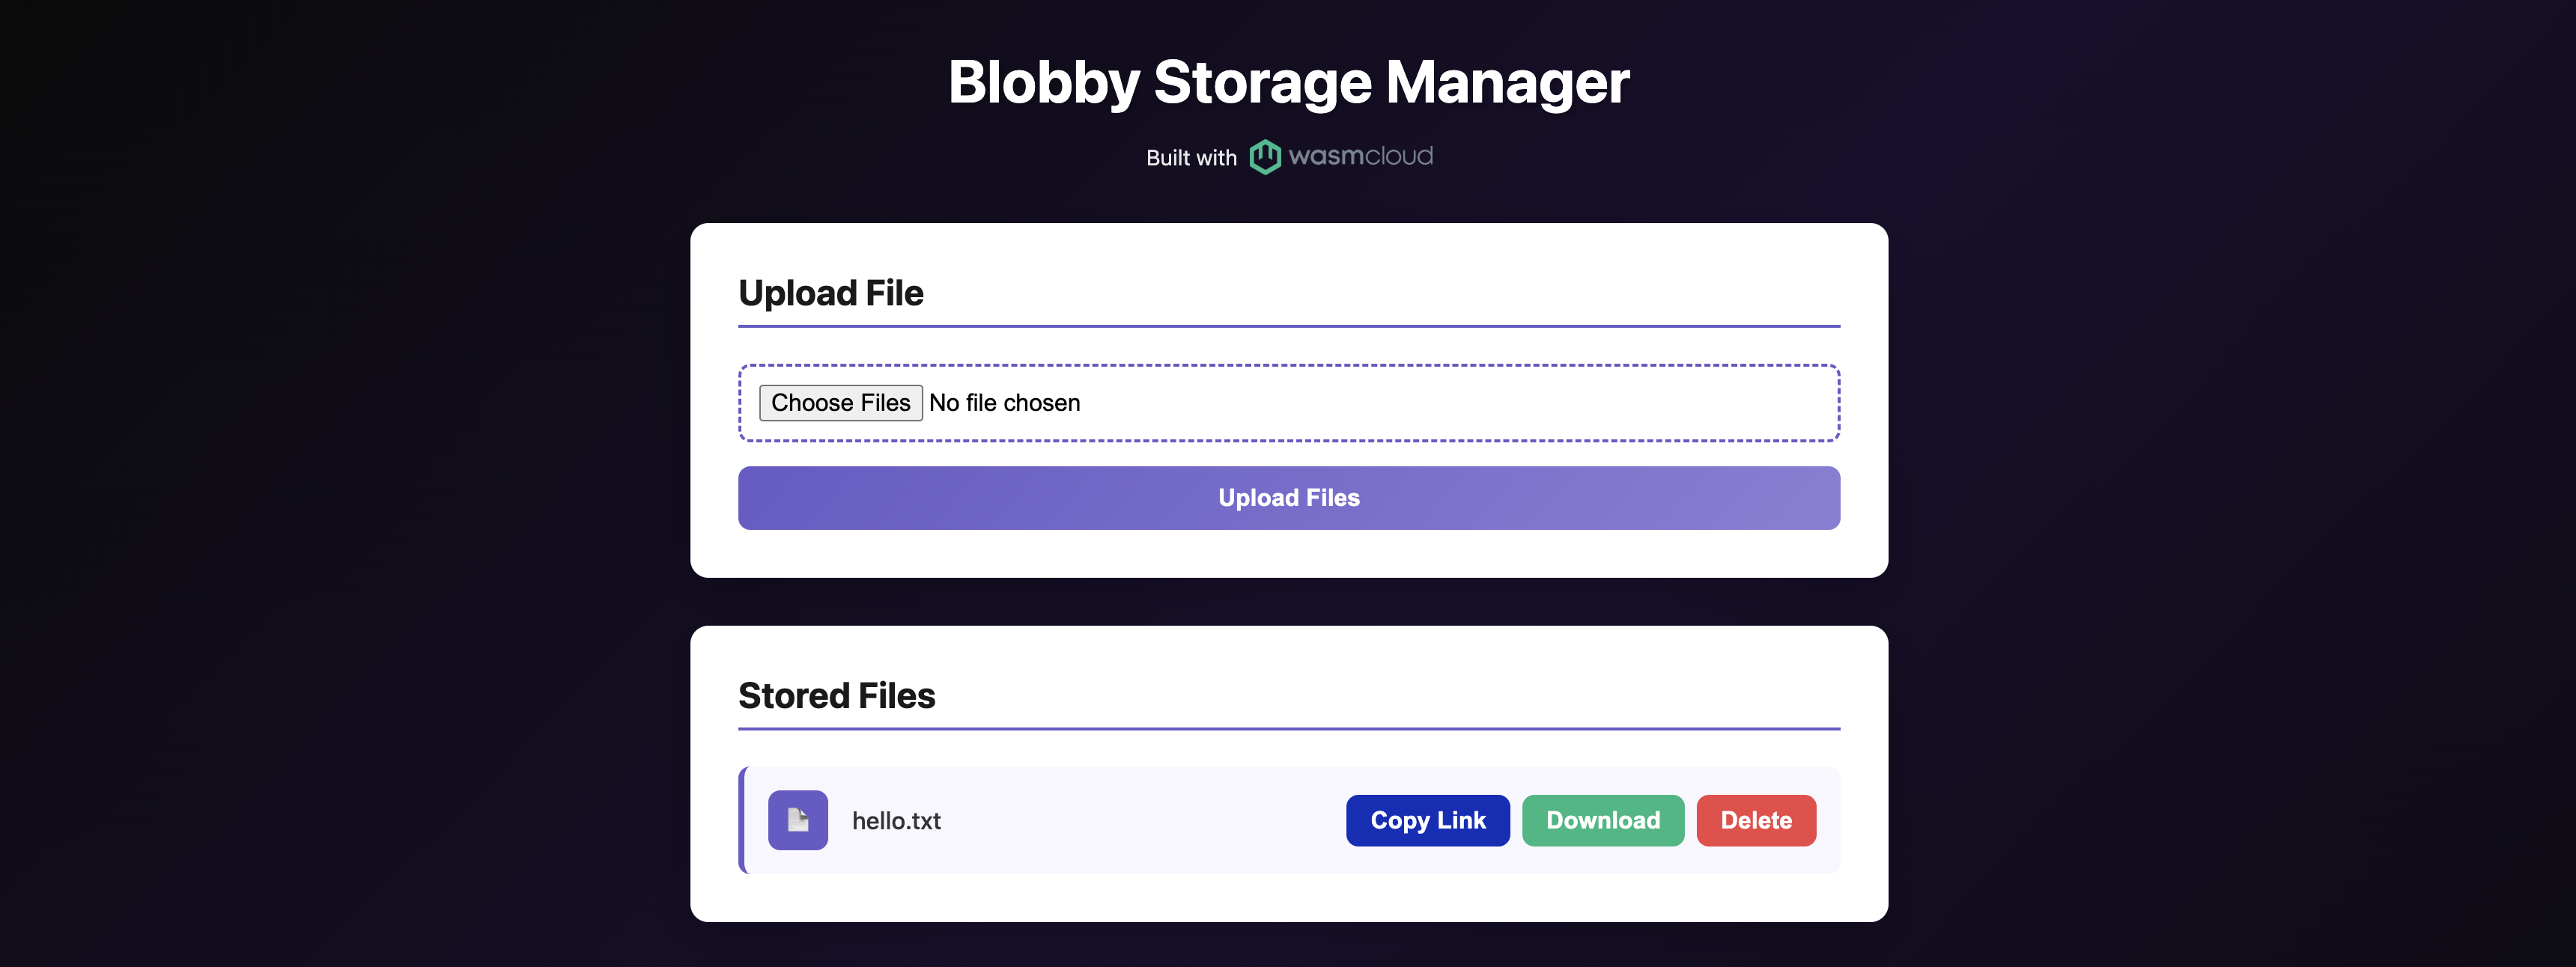
Now let's deploy a more feature-rich example: Blobby ("Little Blobby Tables"), a simple file server that demonstrates the wasi:blobstore capability alongside wasi:http.
The manifest below uses host: blobby.localhost.direct to route HTTP traffic — blobby.localhost.direct is a public DNS alias for 127.0.0.1, so no /etc/hosts changes are needed. Apply it to deploy the blobby-ui component from a wasmCloud-hosted OCI image:
kubectl apply -f - <<EOF
apiVersion: runtime.wasmcloud.dev/v1alpha1
kind: WorkloadDeployment
metadata:
  name: blobby
spec:
  replicas: 1
  template:
    spec:
      hostInterfaces:
        - namespace: wasi
          package: http
          interfaces:
            - incoming-handler
          config:
            host: blobby.localhost.direct
        - namespace: wasi
          package: blobstore
          version: 0.2.0-draft
          interfaces:
            - blobstore
          config:
            buckets: blobby
        - namespace: wasi
          package: logging
          version: 0.1.0-draft
          interfaces:
            - logging
      components:
        - name: blobby
          image: ghcr.io/wasmcloud/components/blobby-ui:0.5.2
EOF
Verify the deployment:
kubectl get workloaddeploymentsOnce running, open http://blobby.localhost.direct in your browser to use the file manager UI:
You can also interact with the file server directly from the command line:
Upload a file:
echo "Hello, wasmCloud!" > hello.txt
curl -H "Content-Type: text/plain" http://blobby.localhost.direct/hello.txt --data-binary @hello.txt
List all files:
curl -X POST http://blobby.localhost.direct/Download a file:
curl http://blobby.localhost.direct/hello.txtDelete a file:
curl -X DELETE http://blobby.localhost.direct/hello.txtClean up
To remove the deployments created in this tutorial:
kubectl delete workloaddeployment http-hello-world blobbyTo tear down the cluster entirely:
- Existing cluster
- kind
- k3d
- k3s
Remove the wasmCloud Helm release:
helm uninstall wasmcloudkind delete clusterk3d cluster delete wasmcloudk3s-uninstall.shWhat's next?
- Explore the interfaces: Learn how WASI interfaces work and browse the full list of built-in capabilities your components can use.
- Go deeper with components: The Developer Guide covers building, publishing, debugging, and composing components.
- Deploy to production: The Operator Manual covers production topics: RBAC, private registries, and CI/CD pipelines.